Forget everything you know about chaotic treasure hunts. What if I told you that the difference between a broke scavenger and a loaded legend isn’t luck, but logistics?
We’re moving from random foraging to applied game theory. Think of it as the difference between a toddler grabbing candy and a UPS driver optimizing their daily route. Maximum yield, minimal wasted motion.
This is the intellectual bedrock of becoming a true loot goblin. We’ll dissect map flow, spawn logic, and the psychological timing of player movement. Is hitting the high-tier zone first a bold power move or a spectacular death wish?
Is the “loot and scoot” method through peripheral buildings the sage’s choice? I’ve seen brilliantly executed loot routes go perfectly and disastrously wrong. The cold, hard analysis of time-to-loot ratios doesn’t lie.
Consider this your primer. We’re framing the scramble not as chaos, but as a deliberate, almost rhythmic practice. A “Sabbath of spoils,” if you will, where every movement is purposeful. For a concrete example of this philosophy in action, check out this analysis of the best loot route in Arc Raiders.
This isn’t just about looting efficiency. It’s about building a methodology. Let’s begin.
Prioritizing Gear
In the rush to grab loot, true skill lies in what you choose to ignore. Your backpack has limited space, and not every item deserves a spot. It’s about making smart choices.
Looting efficiency is key. Think of yourself as a connoisseur of digital battles. Each item in your inventory has a cost. Choosing wisely means making tough decisions.

There’s a fear of missing out on gear. This fear can lead to hoarding useless items. To overcome it, create a value-based list. Ask yourself, is the extra gear worth the risk?
Carry only what wins fights now. A detailed warzone loot economy exists. But your personal strategy is more important. Quick decisions can save your life.
Here’s a Gear Priority Matrix to help you decide:
| Gear Type | Common Mistake | Smart Priority | Reasoning |
|---|---|---|---|
| Armor Plates | Carrying only 2-3 | MAX OUT (5+) | Plates are health. Health is time. Time is winning. |
| Scopes & Attachments | Hoarding “just in case” | One optimal loadout | A 3x scope you use beats three scopes you don’t. Weight matters. |
| Healing Items | Ignoring stims | Stims > First Aid | Speed of healing in combat outweighs total healing. |
| Ammo Types | Carrying 4+ types | 2 primary types max | Frees critical space. You can’t shoot five guns at once. |
| Field Upgrades | Never using them | Deploy early, often | A stored trophy system protects nobody. Use it or lose it. |
Notice a pattern? The best items are those that make an immediate difference. That legendary sniper you can’t hit? It’s worthless. Spare ammo for unused guns? It’s just taking up space.
This isn’t about being minimalist. It’s about being strategic. Your gear should be like a Navy SEAL’s—every item has a purpose. When the game ends, you won’t regret leaving behind that extra sensor. You’ll regret not carrying enough plates.
True wealth in these games isn’t about what you carry when you die. It’s about what you choose to leave behind for victory. Master this, and you’ve mastered the core of looting efficiency.
Managing Inventory Under Fire
Imagine you’re hiding behind a wall, your health is low, and you see a weapon that could change the game. Shots are coming from all sides. You’re out of meds and your gun has only six bullets left. Do you go for the loot? It’s a tough decision that tests your inventory management skills.
Managing your inventory is like a fast-paced dance. You right-click, drag, and consume items quickly. You check the ammo type and listen for footsteps. It’s like solving a puzzle while someone is yelling at you.
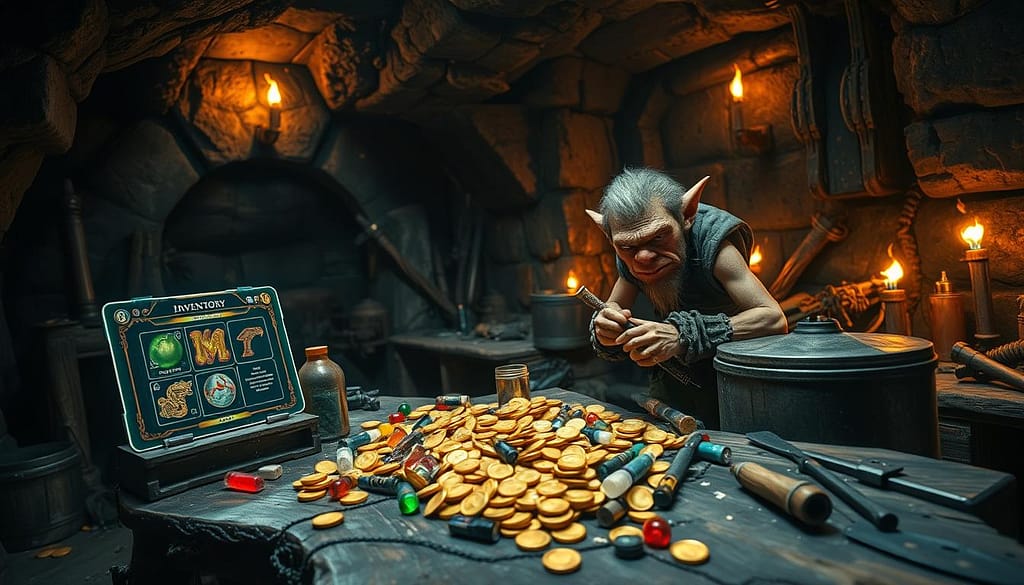
This is called the “inventory shuffle.” It’s a game of speed and accuracy. Every second you look at the menu is a second you’re not watching the raid. But, the menu is also your pause button. The trick is to use it quickly so you can get back to the fight fast.
Using keybinds is key. Binding heals to specific keys helps you survive. If you’re slow to find a bandage, you might get killed. Your fingers should know the moves without thinking.
Our smart inventory management guide shows how to set up these life-saving systems. It explains the essential binds you need.
The best advice is to plan before the fight starts. Your inventory layout during peace time affects your efficiency in battle. Make sure your heals are easy to find and your valuable items are safe.
In a hot-drop scenario, you land, find a body, and hear another player coming. The body has better armor and ammo. The smart move is to swap armor first for quick survival. Then, grab the ammo if you can. Leave the sight for later.
Knowing your utility slots is also important. They can help you turn defensive into offensive. Check out the types of utility equipment and their quick-use options.
The situation is tense. Your heart is racing, but your hands must stay steady. It’s a test of survival over greed. That legendary scope won’t matter if you’re dead before you can use it.
So, when you’re in a tough spot, remember: the tab screen is your ally, not your enemy. Use it wisely, prepare your layout well, and let your muscle memory handle the stress. That’s how you turn a disaster into a victory.
Strategies for Supply Drops
That bright flare in the sky asks one question: are you predator or prey? Supply drops turn any landscape into a test of strategy. You’ve mapped your route, picked your gear, and managed your inventory under fire. Now, it’s time for the final test.
Three main types show up at these events. The Vulture waits, letting others risk their lives for the crate. The Chad charges in, relying on guns over strategy. The Sage, my favorite, uses the drop as bait for a trap. Your choice can mean life or death.
The flare signals a feast for every player and ARC machine around. A guide on requesting supply drops in ARC Raiders explains how it works. Smart teams have one guard, one loot, and one cover. Solo players might let others fight first.
The real question is, is the loot worth the risk of getting caught up in a fight? Is your inventory full? Are you close to leaving? Sometimes, the best plan is to watch from a distance and leave.
Don’t go in with just greed. Plan carefully. The supply drop is more than a chance to grab loot. It’s a place where players show their true selves, balancing risk and reward.