Forget the highlight-reel headshot for a second. What truly decides a round is often the strategic use of your grenades, smokes, flashes, and stuns. Controlling space and dictating engagements wins more games than raw aim alone.
Take the iconic map Dust2. A single, well-placed smoke can block a key sightline like Mid Doors. This simple act lets your entire team safely take map control. It messes up the opposition’s plans before a single bullet is fired.
This is the core of Utility Mastery. It’s a learnable skill set that lets you outmaneuver opponents systematically. It starts with understanding the different types of utility equipment and how their precise lineups create opportunities.
Utility Value Over Raw Aim
Mastering utility lineups turns uncertain fights into controlled ones. Sharp aim is key for duels, but it’s not always sure. Utility, on the other hand, offers guaranteed value that shapes the round’s outcome before any shots are fired.
Grenades, smokes, and flashes block enemy views and force defenders to move. This gives your team the upper hand. For example, using a smoke to cover X Box is key for taking a site. It removes a major defensive spot right away.
Another important smoke is the A Cross smoke for A Site. It lets you safely move from Long to Site, blocking a dangerous view. The Tunnels to B Site Door smoke also isolates defenders, stopping their rotations. These are not tricks; they are tactical foundations.
Using utility well has a big impact. It makes opponents act in ways that are not good for them. It also saves your team’s resources by not needing to spend a lot on weapons to beat defenders. You win rounds by planning better, not just by shooting better.
Spending time on learning precise lineups is more rewarding than just improving aim. It’s the difference between hoping to win a duel and knowing you’ve already won the fight.
Lineup Creation Framework
Creating lineups in a systematic way turns guesswork into guaranteed success. This method replaces random throws with precise actions that win rounds. You develop a personal playbook of smokes, flashes, and molotovs that work every time.
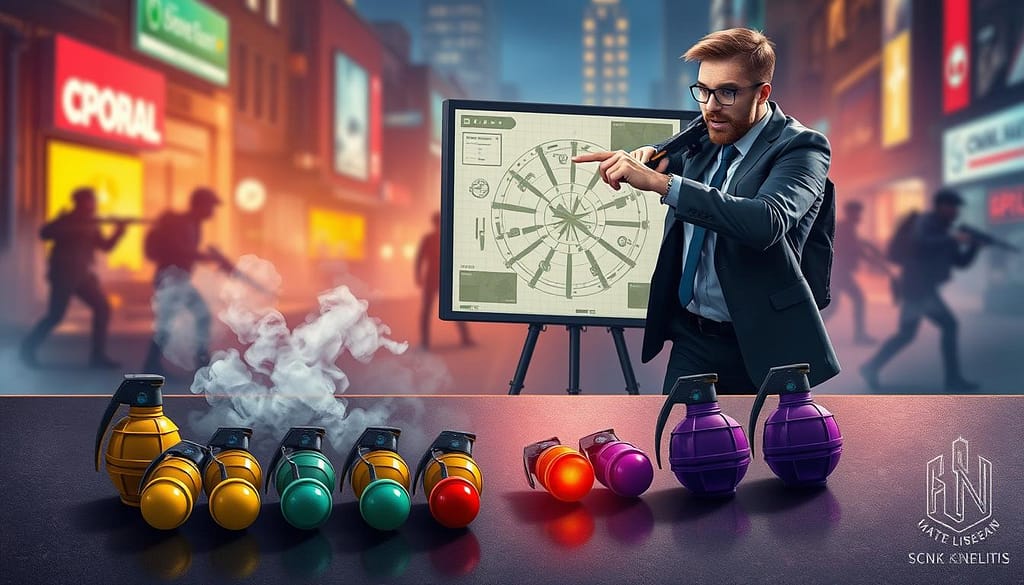
Every reliable lineup is built on three pillars. You need consistent reference points, knowledge of throw mechanics, and dedicated practice. Master these, and you control angles and sites from anywhere on the map.
Find Your Anchor Points
Look for permanent, unmoving details in the game world. These are your anchors. Good anchors include a specific pixel on a texture, the corner of a window, or a unique crack in a wall. On Dust2, aiming at the lower left side of a small window from T Spawn is a classic anchor for a key smoke.
The best reference points are easy to find during a hectic round. They never change between matches. This consistency is what makes a lineup trustworthy.
Understand Throw Types
Grenades behave differently based on how you release them. The three main throws are standard, jump, and run throws. Each gives the grenade a unique arc and distance.
- Standard Throw: The basic left-click. It offers a medium arc and is good for most medium-range lineups.
- Jump Throw: You jump and release the grenade at the peak. This creates a very high, long arc for reaching distant targets like back-site smokes.
- Run Throw: You move forward and throw. This produces a flatter, faster trajectory for lineups that need speed.
Knowing which throw to use is half the battle. The source data often specifies it, like the “jump throw” needed for that Dust2 window smoke.
Case Study: A Dust2 Smoke Lineup
Let’s break down a real example. To smoke A Long Corner from T Spawn, you follow precise steps. First, walk up to the wall near spawn. Second, align your crosshair at the lower left side of the small, square window on the building. Third, perform a jump throw.
This sequence uses a clear anchor (the window pixel) and the correct throw type (jump). Practice this in a private match until you land it ten times in a row. This is the blueprint for any lineup.
Build Your Library Step-by-Step
- Choose a Map and Target: Pick one map. Decide what you want to block or clear, like a common sniper angle.
- Scout for Anchors: In a private match, walk common paths. Look for distinctive, easy-to-spot landmarks near your starting position.
- Experiment with Throws: Try different throw types from your anchor. See where the grenade lands. Adjust your aim point slightly up, down, left, or right.
- Record the Successful Lineup: When you find one that works, write down the exact steps: location, anchor, crosshair placement, and throw type.
- Drill for Muscle Memory: Practice the lineup repeatedly. Do it until you can hit it without thinking, under pressure.
Focus on common situations first, like site executes. Then, develop niche lineups for retakes or eco rounds. A deep lineup library makes you adaptable and unpredictable.
The goal is not to memorize a hundred lineups. It is to master a framework that lets you create and practice any lineup you need. Consistent utility wins more duels than raw aim alone. Start building your system today.
Flash Timing & Pop Angles
Using a flashbang grenade well means knowing when and where it explodes. This knowledge turns a simple stun grenade into a powerful tool. It helps you take control of the map and win fights.
There are two main types of flashes: pop flashes and bounce flashes. A pop flash explodes in the air with little warning. Your enemy hears the pin pull and then is instantly blind. A bounce flash hits a wall or object first. This gives a skilled opponent a brief moment to turn away.
| Type | Description | Best For | Key Consideration |
|---|---|---|---|
| Pop Flash | Explodes in mid-air with minimal audio cue before the blast. | Aggressive peeks, retaking sites, and catching enemies holding common angles. | Requires precise lineup and throw timing; very hard to avoid. |
| Bounce Flash | Bounces off a surface before detonating, creating a longer audio trail. | Clearing tight corners, setting up for teammates, and blocking lines of sight safely. | Can be dodged if the enemy hears the bounce and reacts quickly. |
| Hybrid | Uses a quick, shallow bounce to curve around a specific obstacle. | Blinding enemies around cover, like the classic “A Long Corner” flash. | Relies on map geometry to minimize the enemy’s reaction time. |
Your peek timing is everything. If you peek with your flash, you arrive as it pops. This is risky but can catch players off-guard. Peeking after the flash is safer. You wait for the full blind effect before swinging out to secure the kill.
Use map geometry to create blind spots. For example, a flash thrown to bounce off the phone sign on A Long Corner is excellent. It flies over the wall and pops right as it passes the corner, giving Ts no time to react. This uses the angle of the bounce to hide the flash’s path until the last second.
Team coordination multiplies a flash’s value. A teammate can throw a flash for you while you hold an angle safely. The “Mid Doors” flash thrown from behind X Box fully blinds anyone on the T side. This lets your teammate peek through doors without being seen.
Even running throws have their place. The “Lower Tuns to A Short” running throw is perfect for an aggressive B site push. It allows you to move with momentum while the flash detonates ahead of you. Always be aware of self-flashing. A bad angle can blind you and your team, losing the fight instantly.
The goal is to maximize blind duration and create homing opportunities. A perfect flash doesn’t just white the screen. It forces the enemy into a vulnerable position your team can exploit. Mastering these angles makes your utility unpredictable and deadly, much like using unpredictable off-angles in your positioning. Think of your flash not as a simple stun, but as a key that unlocks a path for your team’s execute.
Smoke Discipline & One‑Ways (Ethics & Counters)
Mastering smoke placement is more than just blocking vision. It’s about gaining unfair advantages and knowing how to counter them. This skill level separates good players from the great ones.
One-way smokes are a top skill. By placing a smoke grenade at a precise angle, you create a one-way barrier. Attackers see a solid wall, but defenders can see their opponents’ feet and legs.
This technique sparks a big debate. Many see smoke one-ways as a cheap trick. Others think they’re a high-skill move. The community is divided on whether they’re clever or unfair.
Knowing how to counter enemy smokes is key. You have several tools to break through a smoke screen.
- Molotovs / Incendiaries: Toss them behind a smoke to force an enemy out or deny the position.
- Utility Flush: Use flashes or grenades to make holding behind a smoke dangerous and unpredictable.
- Aggressive Push: Sometimes, the best counter is a surprise sprint through the smoke, catching the opponent off-guard.
| Counter Tactic | Best Used When | Key Utility Needed |
|---|---|---|
| Molotov Clear | You know the common hiding spot behind the smoke. | Molotov or Incendiary |
| Flash & Push | The smoke is thin or you have teammate support. | Flashbang |
| Spam Through Smoke | You have a high-rate-of-fire weapon or a shotgun. | Grenade (for sound cover) |
| Reposition & Retake | The smoke is blocking a critical choke point on defense. | Smoke of your own (to re-block) |
Let’s look at a pro-level move: the “Catwalk onto A Site” double smoke. This is a two-part play. First, you throw a smoke to block the view from Site Car looking toward Catwalk. This must be done first.
Next, your teammate throws a second smoke to cover the path from Catwalk onto the site itself. This coordinated smoke execute isolates the fight and lets your team push safely. It shows how planned smokes win rounds.
How do you counter this as a defender? A well-timed molotov onto Catwalk as the smokes pop can stop the push cold. Or, a defensive player could push aggressively through the first smoke from Car, breaking the attackers’ setup. This turns their advantage into a close-range duel.
True mastery means understanding both sides. Learning to set up smoke one-ways teaches you where to look when you face them. A disciplined player controls the smoke, not the other way around.
Clearing with Nades in BRs
In battle royales, molotovs and frag grenades become key for clearing areas. They help you avoid getting caught in the open. Your grenades let you take control of force engagements on your terms.
The molotov, or “molly,” is your go-to for clearing. It sets fire, causing immediate and lasting harm. A well-placed molly can scare a sniper out of a window or make a hiding camper run.
Accuracy is key. Knowing a few key spots to throw a molly can win you rounds. For instance, a “Long Corner to Car” molly hits a common spot, forcing the enemy to move. Another good spot is the “Mid to B Back Site” molly, great for retaking areas.
Combining grenades can be devastating. A flashbang followed by a molly is a powerful combo. The flash blinds the enemy, and the molly burns them before they can react.
High-Explosive (HE) grenades have their own role in clearing. They’re good for:
- Chip Damage: Weaken an enemy hiding behind cover.
- Finishing Blows: Finish off a weakened opponent.
- Area Denial: Block narrow paths or staircases with the explosion and sound.
Grenades also block important areas. A molly on the bomb plant spot can delay an enemy’s plant. A grenade in a doorway can stop a push, giving your team time to plan.
Learning these tactics changes your game. You start winning fights instead of just fighting. Every molly in your inventory is a chance to win a round, waiting for the right moment.
Team Utility Drills & Callouts
Being good at utility in games means your team works together. The best strategies use two players. One throws a smoke, the other flashes.
Practice specific plays on maps like Mirage in Counter-Strike 2 or Ascent in Valorant. Have a clear plan. For example, start with a smoke, then flash over.
Good communication is key. Tell your team exactly when to act. “Flashing left in two” helps your duelist know when to peek. “Mollying default in one” sets up a push.
Make time for team practice. Start with simple scenarios. Then move to more complex ones. Watch your demos to see what works.
Winning in games isn’t just about being good at one thing. It’s about how well your team uses utility together. When five players work as one, you can win big.