What makes a good player great in any competitive shooter? Often, it’s a single skill. Winning fights, getting eliminations, and winning the game all depend on one thing: your precision and control.
Imagine the elite “Sharpshooter” archetype. These players are very disciplined. They don’t just shoot randomly. They find a good spot, often behind cover, to make every shot count. This approach turns a simple action into a strategic advantage.
Being good at this skill changes every part of a match. It helps you survive the early game chaos. It also decides if you can win a tense, late-game moment. Good long-range shooting and clean target acquisition make fights easier before they start.
Getting this good doesn’t happen by chance. It takes focused, consistent practice. Seeing aim training as key is the first step to improving on the leaderboards.
Sensitivity Theory (cm/360, eDPI)
The path to elite aim starts with numbers like cm/360 and eDPI. These numbers help you understand your aim training. They turn your mouse movements into in-game actions, building your muscle memory.
cm/360 is about how far you move your mouse for a full circle in-game. A lower number means you move faster. A higher number means you move slower.
eDPI combines your mouse’s DPI and in-game sensitivity. For example, 800 DPI times 2.0 in-game sens equals 1600 eDPI. This number lets you compare with other players, no matter their setup.
To start your aim training, you need to know these numbers.
How to Find Your Current Settings
First, check your mouse’s DPI setting. It’s usually 400, 800, or 1600. Then, open your game’s settings and find the sensitivity value. Multiply these numbers to get your eDPI.
Use an online “cm/360 calculator” with your game, eDPI, and field of view. It will show you your current setup’s benchmark.
High Sensitivity vs. Low Sensitivity: The Trade-Offs
There’s a debate about high versus low sensitivity. Each has its own strengths and weaknesses, fitting different aiming styles.
High Sensitivity (Low cm/360) is great for quick, large movements. It needs less space and feels more reactive. But, it’s hard to make small, precise adjustments.
Low Sensitivity (High cm/360) is better for precision and consistency. It’s easier to make small adjustments and track targets. But, it needs more space and effort for big turns.
| Aspect | High Sensitivity | Low Sensitivity |
|---|---|---|
| Primary Aim Style | Flicking, Fast Turns | Tracking, Precision |
| Physical Movement | Wrist & Fingers | Arm & Wrist |
| Desk Space Needed | Small | Large |
| Best For | Close-quarters, aggressive play | Long-range, controlled play |
| Biggest Challenge | Micro-adjustments | Large, quick turns |
The Golden Rule: Pick One and Stick With It
Consistency is key in sensitivity theory. Your brain and muscles need repetition to improve. Changing sensitivity often resets your progress.
Understanding the importance of aim is vital. Aim is a skill built on repetition.
Your goal is to find a sensitivity that feels right for you. Aim for a range of 25cm to 45cm per 360. Test it in an aim trainer or the game’s practice area.
Notice how well you track and flick. Does your crosshair feel smooth or jittery? The right sensitivity should match your intent.
There’s no one-size-fits-all sensitivity. Find what works best for you. Once you do, you can improve your flick timing, tracking, and crosshair placement.
Flick vs. Tracking: When Each Wins
To dominate in any shooter, knowing when to use flicks or tracking is key. These skills are the base of all precise aiming. Knowing their differences can change your gameplay.
Flick shots are quick, twitchy movements that snap your crosshair to a target. Think of a Counter-Strike player with an AWP. An enemy might peek out for a split second. The sniper doesn’t slowly track. They instantly flick to the head and click. This skill relies on muscle memory and speed.
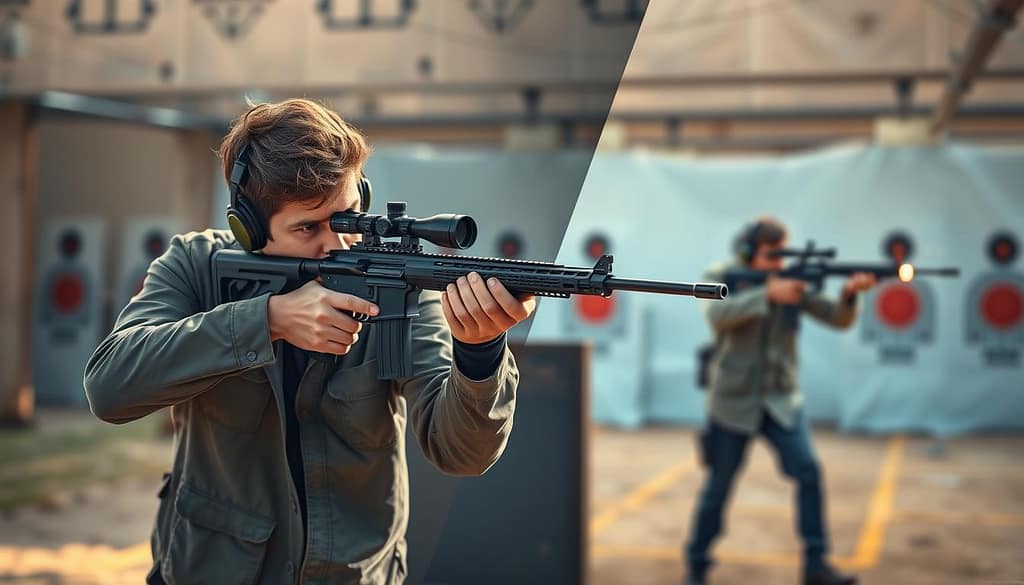
Tracking aim is about keeping your crosshair on a moving target. In games like Overwatch, heroes like Soldier: 76 or Tracer need this. You hold down fire and smoothly follow an enemy’s movements. This requires constant adjustments and prediction.
Flicking is best for quick reactions. It’s for sudden peeks, unexpected flanks, or duels decided by who shoots first. Flicking is your tool for surprise.
Tracking is better for long fights. When an enemy is moving a lot, smooth tracking ensures every bullet hits. Tracking is your tool for control.
The bridge between these skills is target acquisition. This is your initial speed and accuracy in placing the crosshair on a target. Good target acquisition sets you up for either a perfect flick or a seamless track. It’s the first step in every aim duel.
| Aspect | Flick Shots | Tracking | Why It Matters | Quick Tip |
|---|---|---|---|---|
| Skill Type | Twitch, Reflex-Based | Smooth, Predictive | Determines your reaction style | Flicking feels like a snap; tracking feels like a glide. |
| Primary Movement | Fast, Straight Lines | Fluid, Curved Lines | Affects your mouse control technique | Practice flicks on static dots. Practice tracking on moving bots. |
| Best For | Instant Kills, Quick Peek Duels | Sustained Damage, Strafing Fights | Dictates your engagement strategy | Use flicking for snipers and shotguns. Use tracking for assault rifles and machine guns. |
| Key Games | CS:GO, Valorant | Overwatch, Apex Legends | Shows which games emphasize which skill | Most players have a natural strength in one area. |
| Training Focus | Precision & Speed Tasks | Smoothness & Consistency Tasks | Guides your aim training routine | Balance your practice between both for versatile aim. |
Great players don’t just master one. They switch between flicking and tracking based on the fight. You might flick to an enemy’s head, then track their fall. This fluid combination is the mark of an elite aimer.
Find out which skill is weaker. Spend more time on it. Your goal is to have no holes in your mechanical toolbox. When you understand flick vs. tracking, you control every duel.
Daily 20‑Minute Routine (KovaaK, Aim Lab, in‑game)
Sharpening your aim is easier with a daily 20-minute drill. This short session builds muscle memory without fatigue. Consistency is your greatest weapon; daily practice beats a weekly two-hour session.
This routine works in aim trainers like KovaaK’s and Aim Lab, or in game modes. It has a simple three-part structure: warm-up, skill work, and real-world application. Each part aims to improve your aim.
| Phase | Time | Activity Focus | Key Purpose |
|---|---|---|---|
| Warm-up | 5 minutes | Smooth Tracking | Loosen muscles, establish mouse control, and find your rhythm. |
| Focused Development | 10 minutes | Flick & Precision Drills | Isolate and intensely practice specific aiming mechanics. |
| Real-world Application | 5 minutes | Target-Switching & Reactive Scenarios | Apply refined skills in dynamic, game-like situations. |
Phase 1: The 5-Minute Warm-up (Smooth Tracking)
Start with five minutes of smooth tracking. Focus on fluidity, not speed or accuracy. This wakes up the neural pathways.
Use scenarios like “Close Long Strafes” in KovaaK’s or “Microshot Speed” in Aim Lab. Move your crosshair smoothly over a single target. This phase reduces shaky aim and prepares you for more intense drills.
Phase 2: Focused Skill Development (10 Minutes)
This is the core of your aim training. Spend ten minutes on flick shots and precision drills, five minutes each.
For flick shots, try “1w4ts” or “Tile Frenzy.” These build fast, twitch muscle memory. For precision, use “Micro Flex” or “Sixshot.” These improve control by hitting tiny, distant targets.
Alternating between these styles keeps your brain flexible. It builds a versatile aiming toolkit.
Phase 3: Real-world Application (5 Minutes)
End with five minutes of chaotic, reactive scenarios. This prepares you for actual games. Your goal is to manage multiple targets and unpredictable movements.
Scenarios like “Popcorn” or “Reflex Track” are great. You must quickly switch between targets and track moving bots. This phase teaches you to process visual information quickly and execute under pressure.
Stick to this routine daily and record your scores. Remember, the quality of your focus during this short burst is what creates elite aim. If you want to dive deeper into the science of repetition and gaming performance, exploring esports cognitive studies and muscle memory research can provide fascinating insights into how your brain adapts to these routines.
Crosshair & Reticle Basics
The look of your reticle affects how fast you can spot enemies. This small dot or shape is your main guide. A good crosshair makes a chaotic fight easier to manage.
Choosing the right crosshair affects how fast and accurate you are. A bad one can hide enemies or get lost on a busy screen. Let’s look at the key elements you need to master.
The Psychology of Crosshair Color
Color is your first choice. It affects how easy your eye finds the reticle. Not all colors work well for gaming.
Cyan or Light Blue is a favorite among pros. It stands out against dark and light backgrounds. It rarely blends in with common map textures.
Bright Green is also popular. The human eye finds green easily. But, it can get lost in green areas.
Red contrasts well, but can be confusing. It might be mistaken for enemy outlines or damage indicators. This can cause confusion.
Choose a color that pops on every map. Consistency is more important than personal taste.
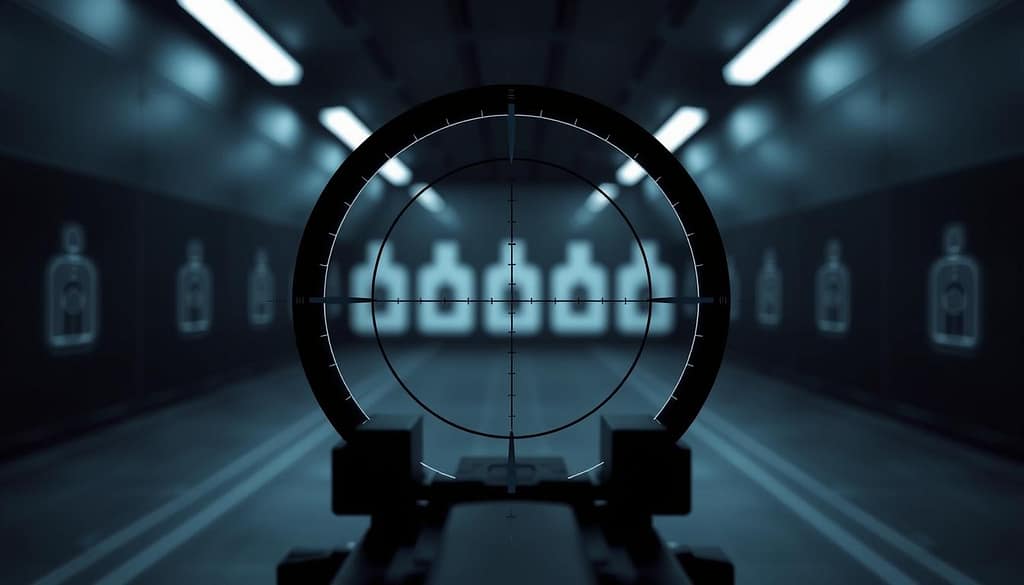
Next, decide between a static or dynamic crosshair. A static reticle never changes. A dynamic one changes size and shape based on movement.
Static crosshairs offer consistent aim. They help build muscle memory. They are less distracting during intense moments.
Dynamic crosshairs provide feedback on accuracy. They help new players learn. But, they can be distracting.
For quick target acquisition, a simple static crosshair is best. It lets you focus on the enemy, not the reticle.
| Feature | Static Crosshair | Dynamic Crosshair | Best For |
|---|---|---|---|
| Consistency | Always the same size and gap. | Changes with movement and firing. | Precise flicks and long-range shots. |
| Visual Feedback | None. | High – shows weapon spread. | Learning recoil patterns and movement penalties. |
| Distraction Level | Very Low | Can be High | High-pressure, competitive play. |
| Target Acquisition Aid | Unchanging reference point. | Can obscure small targets when expanded. | Fast, clean engagements. |
Optimal Size, Gap, and Opacity
Adjusting these settings helps you avoid blocking the target. A thick crosshair can hide enemies at range.
Start with these simple guidelines:
- Size: Keep it small. 2-4 pixels in length for each line is usually perfect.
- Center Gap: This is the empty space in the middle. A gap of 1-3 pixels lets you see exactly where your bullet will go.
- Outline/Thickness: A 1-pixel outline in black or white can help your crosshair stand out on any background.
- Opacity: 100% opacity (fully solid) is best. A transparent crosshair is harder to see quickly.
The goal is a minimal, high-contrast design. You want to see through the crosshair to the target, not at the crosshair itself.
Avoid complex designs like dots or circles. They can block important pixels. In a duel, a simple “plus” sign or small “T” shape is the fastest tool for target acquisition.
Test your crosshair in different settings. Try it against bright skies, dark corners, and smoky effects. When you find a setup that feels natural, stick with it and build your aim around it.
Common Mistakes and How to Fix Them
Improving your aim often gets stuck because of wrong practice. Spotting and fixing common errors quickly boosts your skills. This part covers the usual mistakes that mess up aim training efforts.
Think of your aim like building a house. A shaky base or wasted effort can ruin the whole thing. Let’s make your foundation strong.
Many think more time means better results. But practicing with tired muscles and unclear focus just makes bad habits worse. It’s all about using your energy wisely.
Fix: Keep practice sessions short, 20-30 minutes of focused effort. Quality is more important than quantity. Stop when you start to feel off.
Mistake 2: Constantly Changing Sensitivity
Changing sensitivity every day messes up muscle memory. Your brain can’t learn a consistent pattern.
Fix: Pick a comfortable sensitivity range and stick to it for two weeks. Trust the process. A stable base is essential for growth.
Mistake 3: Overflicking Due to Tension
Nervousness or rushing leads to overflicking. You flick the mouse too fast, then correct it. It’s slow and not efficient.
Fix: Practice slow, smooth flicks. Aim for one smooth motion to the target. Slow practice helps you move faster later.
Mistake 4: Poor Crosshair Placement at Rest
Your crosshair should be where enemies might appear. Drifting it too high or low adds distance to every flick.
Fix: Keep your crosshair at head level. Practice aiming at common angles. This makes every shot easier.
Mistake 5: Neglecting One Aiming Style
Ignoring one style, like flick vs. tracking, limits your skills. A balanced approach is key.
Fix: Make sure to practice both flick and tracking shots. Understanding flick vs. tracking helps you in all situations.
Staying away from these common mistakes speeds up your improvement. For a detailed aim training program that teaches these habits, check out coaching resources. Consistent, mindful practice is your best tool.
Progress Tracking Sheets & Benchmarks
Mastering your aim is more than just practice. You need a way to measure your growth. Without tracking, you can’t prove your improvement.
Start with a simple spreadsheet or a notes app. Record your scores from key aim trainer scenarios. Tests like “1w4ts” in KovaaK’s or “Close Fast Strafes” in Aim Lab are popular. Use community benchmarks like Voltaic Fundamental Benchmarks to guide you. These benchmarks set clear goals for your skill level.
Look at your data over weeks, not days. Daily scores can change a lot. Seeing a steady increase over a month means your routine works. This long-term view keeps you motivated and shows your real progress.
Turning practice into data helps you find your way to elite aim. Regularly logging your progress makes it real and shows your path to getting better.