What makes a player great in games like Valorant? It’s not just quick reflexes. It’s mastering crosshair placement.
This skill keeps your aim at head level, where enemies often show up. You stop guessing and start pre-aiming common angles. This turns a quick flick into a well-prepared attack.
In a game where a single headshot can win, this skill is key. It cuts down your time-to-kill. Your first shot is already on target.
Getting good at this skill means more free kills, stronger defenses, and smoother site entries. Even if you’re not naturally good at aiming, your game will significantly get better.
Crosshair Economics (Time-to-Kill Math)
Think of your crosshair as a financial investment. Where you place it determines your return in terms of time saved and survival secured. This is the core of crosshair economics.
Valorant operates on a brutally short time-to-kill (TTK). A single headshot from most rifles ends a fight instantly. This makes crosshair placement disproportionately powerful compared to games where you spray dozens of bullets.
Good placement acts as a force multiplier. It turns a duel from a test of flick-shot speed into a simple confirmation click. You will notice more ‘free’ kills where you barely move your mouse.
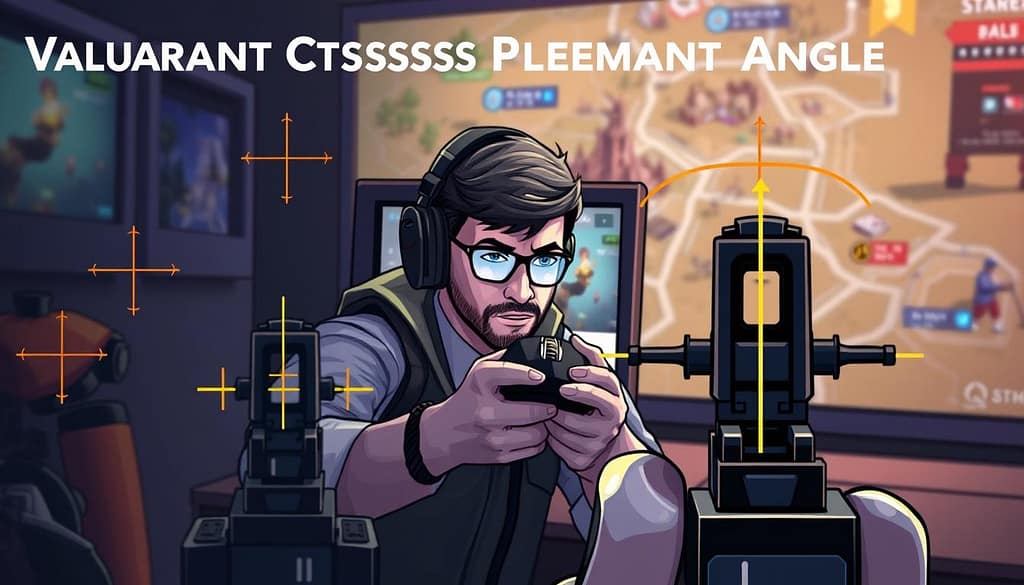
The maps are designed with predictable geometry. Walls, boxes, and doorways create common head-level angles. By pre-aiming these spots, you eliminate the need for large, time-consuming adjustments.
This discipline directly boosts your first-bullet accuracy. You win fights before the enemy can react. It builds immense confidence when holding challenging angles. You feel faster and more lethal than opponents with sharper aim but poor positioning.
Mastering this math is a strategic advantage. For a deeper dive into high-level techniques, review this professional analysis. Understanding these critical angles turns your crosshair into your most valuable asset.
Angle Isolation & Pre‑Aim Landmarks
Stop aiming at empty doorways and start targeting the exact pixel where an enemy’s head will materialize. This is the core of intelligent pre-aim. It’s about deciding which specific map pixel you’re pointed at before any opponent is even visible.
Most players aim at the center of an opening. This is a huge mistake. You must aim at the spot where the enemy’s head will first become visible. Think of it as the first-contact pixel. Use probability, not perfection. Based on common peek paths and map flow, you can predict this spot with high accuracy.
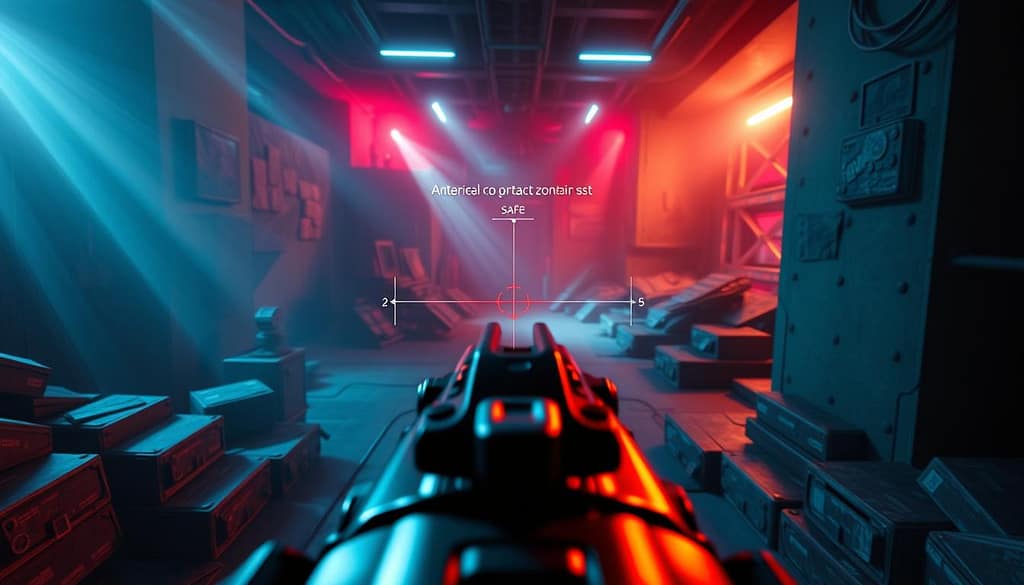
This practice is grounded in angle theory, which can be simplified to three concepts: exposure, distance, and commitment. Exposure is how much of your body an enemy can see. Distance from the corner affects who sees whom first. Commitment is how far an enemy must move to engage you.
Your goal with angle isolation is to minimize your own exposure to multiple angles while maximizing the enemy’s. Never hold a position where you can be seen from two or more directions at once. Instead, choose a hold that forces the opponent to fully commit into your line of fire.
This is where pre-aim landmarks become essential. Use permanent map features as guides:
- Aim at the very edge of a doorframe.
- Line up your crosshair with a specific crack in a wall.
- Use a unique floor texture or shadow as your anchor point.
These landmarks tell you exactly where to place your crosshair before peeking or holding. Common mistakes include aiming at the floor, at chest level, or at the vague “middle of nowhere.” Correct this by consciously identifying a landmark for every common angle you approach.
Sound, map control, and timing inform your pre-aim decision. Hearing footsteps from Long A? Your crosshair should already be on the first pixel visible from that corner. Your team has control of Mid? You can now isolate and pre-aim the less probable, more aggressive angles.
The ultimate goal is to convert chaotic, reactive engagements into predictable ones. By mastering angle isolation and landmark pre-aim, you control the duel before it starts. For a deeper dive into unconventional sightlines, consider understanding off-angles to further complicate your opponent’s clearing process.
Jiggle/Counter‑Strafe Peeks
Jiggle peeking is about getting info without risking a fight. It lets you check angles, spot enemies, and leave before they notice. Your aim is to gather intel, not to kill.
To do a jiggle peek, tap your movement key (A or D) briefly. Move quickly and shallowly. Keep your crosshair placement at head level while moving.
When you need to shoot, tap the opposite movement key to stop. This makes your gun accurate right away. Never shoot while sliding.
Jiggles are like safe probes. Swings are full commitments. Use jiggles to check angles, like those on understanding head glitches. If you see an enemy, you know where they are. Then, aim that spot for a return peek or call for help.
The peek’s width is key. A tight jiggle shows only your shoulder, which is very safe. A wider peek shows more of your body, giving a better view but more risk. Pick based on what you need to see and the enemy’s likely spot.
Here are key tips to master this skill:
- Pre-aim the common spot. Before jiggling, aim where an enemy head would be. This lets you react fast if you see them.
- Don’t over-adjust. While jiggling, avoid flicking your crosshair wildly. Small, controlled movements keep your aim ready.
- Listen for reactions. Enemies might shoot at your jiggle. The sound and tracers reveal their location and weapon.
- Integrate with discipline. Jiggling should be part of clearing angles, not a separate action. For more advanced pro-level movement tips for peeking, practice until it’s automatic.
Mastering jiggle and counter-strafe peeks makes you smarter. You control the map, waste enemy utility, and win duels by knowing more. It turns risky aggression into a calculated advantage.
Shoulder‑Peeking vs. Swinging
Shoulder-peeking and swinging are not just different movements. They are strategies with opposing goals. Each one demands a specific crosshair setup. Choosing the right one in a split second is what separates a good duelist from a great one.
Shoulder-peeking is a form of jiggling. You expose a tiny part of your player model, often just a shoulder, around a corner. The goal is not to shoot first. The goal is to bait an enemy shot. This gives you free information. You learn their exact position and their reaction timing.
For a shoulder-peek, your crosshair placement is simple. Keep it at head level on the corner you are peeking. You are not trying to pre-aim a specific spot. You are ready to snap to a target if they are caught off guard. But your main job is to stay alive and gather intel.
Swinging, or a wide swing, is a full commitment. You move out from cover with the intention to engage and kill. This is an aggressive play. Your success depends on your pre-aim and your first bullet accuracy. A good swing maximizes your headshot % by catching the enemy where you expect them to be.
When you swing, your crosshair must be pre-aimed at the precise spot where the defender is likely holding. This is where understanding angle holding is key. Is your opponent holding a tight angle (close to the corner) or a wide angle (further back)? Your pre-aim should match that anticipation.
| Aspect | Shoulder-Peek | Swing |
|---|---|---|
| Intention | Gather information, bait shots | Commit to the kill |
| Movement | Small, quick exposure | Full, fast strafe out |
| Crosshair Placement | Head level at the corner | Pre-aimed at expected defender position |
| Best For… | Checking dangerous angles safely | Securing kills and improving headshot % |
Think of the enemy’s style. A passive holder will usually be tighter to the corner. A more aggressive or confident player might hold a wider angle for a better shot. Your choice to shoulder-peek or swing should react to this.
Use a shoulder-peek against a passive holder. You bait their shot, they miss, and now you know where they are. Then, you can swing out while they are in their firing recoil animation. Your pre-aim will be perfect, leading to a clean headshot.
Against a wide holder, a slow shoulder-peek might get you killed. They can see you earlier. In this case, a fast, wide swing with counter-strafing can be better. You surprise them and your crosshair is already on their head.
Practice this decision in deathmatch. Intentionally shoulder-peek a corner to scout. If no one is there, swing wide into the next angle. This trains your brain to switch between information gathering and lethal commitment fluidly. Mastering this flow is how you push your headshot accuracy to the next level.
Drills on Popular Maps & VOD Review: Pause-at-Contact Method
Mastering crosshair placement needs active drills and passive analysis. Move your skills from theory to real matches with focused practice.
Begin in the Range or a custom map like Ascent. Practice keeping your crosshair at head level while clearing common angles. Focus on first-contact flicks to enemy positions. This builds muscle memory for precise initial aim.
Then, move to Deathmatch with a strict rule. Focus only on winning the first duel. Don’t spray or chase kills. Your goal is to improve your first-bullet accuracy and headshot percentage in realistic peeking scenarios.
Self-coaching through VOD review is your next step. Use the pause-at-contact method. Watch your recorded gameplay and pause the moment you see an enemy.
Ask two critical questions. Was my crosshair at head level before contact? Did I choose a tight or wide angle hold intentionally? This review exposes leaks in your peeking discipline.
Combine these drills with consistent VOD analysis. Identify a mistake in your review, then correct it in your next practice session. This cycle sharpens your peeking decisions and lifts your headshot % over time.