Starting a competitive match without the right setup is like racing with a loose wheel. The gap between a good and great player often comes down to comfort, visibility, and performance before the game begins.
For top players, like those in Battlefield 6, aim, awareness, and what you see are key. These are all influenced by a few important settings.
Mastering aim starts with knowing your eDPI. This metric links your mouse movements to in-game actions. It’s essential for consistent aim and building muscle memory.
Your field of view affects your awareness of the battlefield. Your graphics settings also impact how clear and smooth your game looks. Together, they make your gaming experience immersive and quick to react.
Getting these settings right is the first step to a pro gaming experience. It’s about making your actions in the game match your intentions.
Sens Curve & DPI Explained
Getting better at aiming starts with understanding two key settings: your sensitivity curve and DPI. These settings are the base of how your mouse or controller moves your crosshair on screen.
The sensitivity curve shows how your mouse or controller movement affects your crosshair speed. A linear curve has the same response everywhere. But, a dynamic curve, like exponential or quadratic, speeds up as you move more. This lets you make small adjustments and big turns quickly.
DPI, or Dots Per Inch, is a mouse setting. It shows how many pixels your cursor moves for every inch of mouse movement. A higher DPI means your cursor goes further with less mouse movement.
But DPI isn’t everything. Your real sensitivity comes from your mouse DPI and in-game sensitivity. This mix is called your effective Dots Per Inch (eDPI).
To find your eDPI, just multiply your mouse DPI by your in-game sensitivity. This number helps compare sensitivity across games and setups. Finding the right eDPI is key to aiming well.
For games like Battlefield 6, start with a mouse DPI between 800 and 1600. Use a low to medium in-game sensitivity. This eDPI balance helps track targets and make quick turns.
| Mouse DPI | In-Game Sensitivity | Calculated eDPI | Best For |
|---|---|---|---|
| 400 | 12.0 | 4800 | Very low sens, arm aiming |
| 800 | 6.0 | 4800 | Standard low sens starting point |
| 1600 | 3.0 | 4800 | High DPI precision, same eDPI as above |
| 800 | 10.0 | 8000 | Medium sensitivity, faster turns |
The table shows different DPI and sensitivity combos can have the same eDPI. This is why eDPI is the important metric. Start with an eDPI of 4800 for Battlefield 6 and adjust as needed.
For controller players, the rules are similar but use different terms. The response curve setting is like your sensitivity curve. A linear curve is often best for steady aim. The deadzone is key too. It’s the area where no input is registered. Set it right to avoid stick drift but keep it low for quick responses.
Aim assist is also a big help. In Battlefield 6, use the standard or precision aim assist with a slow-down strength of 80-90%. Adjust these settings after you’ve set your base sensitivity and deadzone.
Matching Sens Across Games
eDPI is the universal translator for your aiming feel. It lets you aim precisely in any game. Switching from Apex Legends to Call of Duty can feel off if your sensitivity isn’t right. Each game has its own settings, making it hard to adjust.
To solve this, focus on your effective DPI. Your eDPI is your mouse DPI times your in-game sensitivity. This number shows how fast your cursor moves. Keeping it the same ensures your aim is consistent.
- Find Your Baseline eDPI: In your favorite game, note your DPI and sensitivity. Multiply them. This is your key number.
- Use a Sensitivity Converter: For a new game, enter your eDPI into a converter. It figures out the right in-game value for you.
- Verify with cm/360: Check your “cm/360” to see if it feels right. This distance is key to your aim. Use a converter or practice to make sure.
Top players in games like Battlefield have different sensitivity levels. Tools like Battlefinity show popular settings. But, your goal is to keep your aim consistent, not follow the crowd.
Starting with your trusted eDPI in any game gives you control. It saves you from adjusting and lets your skill shine.
FOV/Res for Target Size & Perception
FOV and resolution scaling are key to what you see and how clear it is in games. Your Field of View (FOV) is like a camera setting. It shows how much of the virtual world you see on your screen. Finding the right balance is essential for spotting enemies and hitting your shots.
A higher FOV means you see more to your left and right. This improves your awareness of your surroundings. But, distant objects and enemies appear smaller. This makes aiming at them from far away harder.
A lower FOV gives you a zoomed-in view. Targets in the center look bigger and are easier to track. But, you miss out on important information around you. This makes it tough to spot enemies sneaking up on you.
Here’s a quick look at how your FOV choice affects your game:
| Setting | Key Advantage | Primary Drawback |
|---|---|---|
| High FOV (e.g., 100-120) | Superior peripheral awareness | Distant targets appear very small |
| Low FOV (e.g., 70-80) | Larger, easier-to-hit targets | Severe “tunnel vision” effect |
Most players aim for a balance between these extremes. The right starting point varies based on your gaming setup:
- Mouse & Keyboard: Try an FOV between 90 and 105. This wider view helps with quick movements and understanding the space.
- Controller: Start between 80 and 90. A narrower view makes it easier to track targets with the analog sticks.
Many games offer an “ADS FOV” setting. This changes your field of view when aiming down sights. Setting it to “Independent” keeps your sensitivity consistent. The “Affected” option can make aiming faster. Try different settings to improve your aim.
For controller users, “Uniform Soldier Aiming” is a must-try. It aims to keep your sensitivity the same at all zoom levels. This makes aiming more consistent.
Your game’s resolution scaling is also important. Techniques like NVIDIA DLSS, AMD FSR, or Intel XeSS upscale the game image. They render the game at a lower resolution and then use AI to make it sharp and clear.
The main benefit is a huge boost in frames per second (FPS) with little loss in quality. Higher FPS makes everything smoother. This makes it easier to track moving targets and feel more responsive.
Think of FOV as your window into the game world. Resolution scaling makes that window sharp and smooth. Adjusting both is key for better target perception and performance.
Graphics for Visibility (gamma, clutter)
Your graphics settings are more than just eye candy. They help you spot hidden enemies and improve your FPS. In competitive shooters, a beautiful scene can distract you. The goal is to remove visual noise and make your targets stand out.
Many default settings are for immersion, not competition. Effects like dense foliage and thick fog can hide opponents. You need to adjust each option for better visibility and a high FPS.
Identifying the Clutter Culprits
Several graphics categories affect what you can see. Knowing them helps you clean up your screen.
Undergrowth and foliage quality fill the map with bushes and grass. While realistic, it hides enemies. Lowering this setting makes vegetation less dense or transparent at a distance.
Volumetric fog and lighting effects create haze. This haze can hide enemies behind it or moving through it. Reducing or disabling these effects clears your sightlines.
Shadow detail is a double-edged sword. Dynamic shadows reveal an enemy’s position. But ultra-detailed shadows can create confusing dark patches. A medium setting often provides the best balance.
Post-processing effects are usually a hindrance. Motion blur, film grain, chromatic aberration, and vignetting add no strategic value. They only reduce image clarity and can strain your eyes during fast movements.
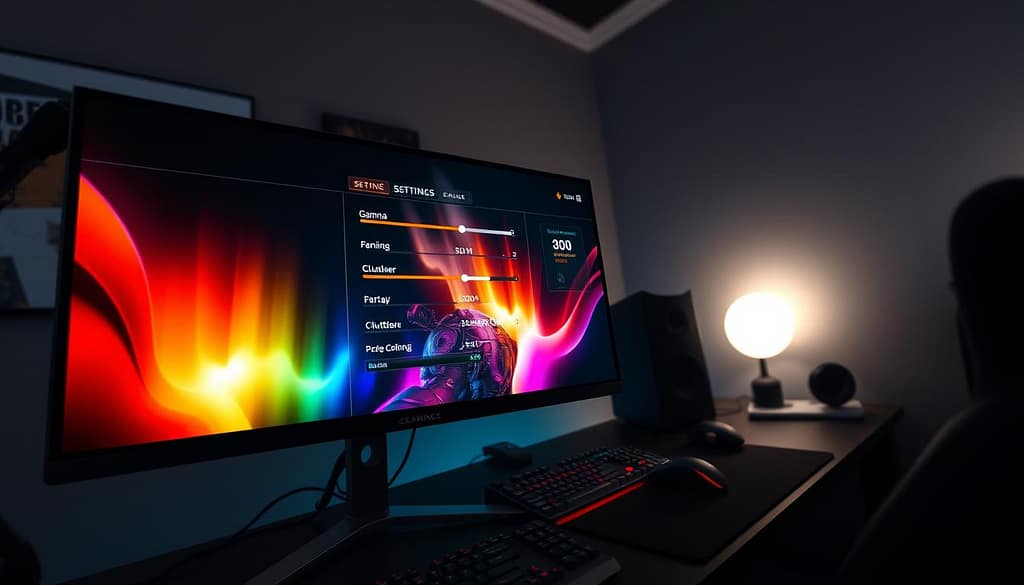
Think of your graphics menu in three tiers. This approach, based on analysis of titles like Battlefield 6, prioritizes what matters most for gameplay.
Tier 1: High Priority for Visibility. These settings provide critical visual information. Texture quality should often be kept on High or Medium. Low textures can make distant objects a blurry mess, making identification harder. A higher texture setting helps you distinguish a player from a rock.
Tier 2: Settings to Lower or Tweak. These are the main sources of clutter and FPS drain. Set effects quality, lighting, and ambient occlusion to Medium or Low. This reduces blinding lens flares, excessive glow, and dark smudges in corners that don’t help you spot enemies.
Tier 3: Settings to Disable. This is your easy FPS and clarity boost. Always turn off motion blur, film grain, depth of field, and chromatic aberration. Your game will instantly look sharper and respond more smoothly.
| Graphics Setting | Competitive Recommendation | Primary Benefit |
|---|---|---|
| Texture Quality | Medium to High | Clearer distant object identification |
| Foliage/Undergrowth | Low or Medium | Reduces enemy camouflage in bushes |
| Volumetric Fog/Lighting | Low or Off | Clears atmospheric haze for longer sightlines |
| Shadow Quality | Medium | Keeps basic intel without excessive dark clutter |
| Post-Processing (Motion Blur, Grain) | Off | Maximizes screen clarity and reduces eye strain |
| Effects Quality | Low | Boosts FPS, reduces distracting particle effects |
The Direct Link to FPS and Performance
Every setting you lower does two important jobs. It removes visual obstacles and lightens the load on your GPU. This directly translates to a higher and more stable FPS.
A higher FPS does more than make the game look smooth. It reduces the delay between your mouse movement and the action on screen. This is called input lag. In a fast-paced duel, a consistent high FPS gives you a more immediate and accurate feel for your aim.
Start by using the recommendations above as a blueprint. Apply them, then jump into a match. Pay attention to how easily you can spot enemies in dark areas or busy environments. Monitor your FPS counter to see the performance gain. Fine-tune one or two settings at a time until you find the perfect balance of clarity and fluidity for your system.
Winning a gunfight often comes down to who sees whom first. By taking control of your graphics for visibility, you ensure that player is you.
Monitor/HZ & Motion Clarity
True motion clarity comes from the right mix of your game’s FPS and your monitor’s refresh rate. This combo is key to seeing every detail clearly. It turns fast action into something you can act on quickly.
Your monitor’s refresh rate shows how many images it can draw each second. A 144Hz monitor can draw 144 images per second. For smooth action, your game’s FPS should match or beat this number. When it does, moving around in the game feels natural.
Playing with a high FPS on a high Hz monitor cuts down on blur and ghosting. To avoid these issues, gamers often turn off V-Sync. But this can slow down your game. A better choice is to cap your frame rate just below your monitor’s max, like 237 FPS on a 240Hz screen. This keeps the game smooth without slowing it down too much.
For console players, Performance Mode is a must. It makes your game run smoother, even if it looks a bit less sharp. This is a big help for quick reflexes and aiming.
Today’s monitors have cool features to help with motion clarity. Variable Refresh Rate (VRR) tech like G-Sync or FreeSync keeps your game’s FPS in sync with your monitor’s Hz. This stops screen tearing. Some monitors also have a motion blur reduction setting. It makes each frame sharper, keeping things clear even when you’re moving fast.
Your monitor is where your skills shine. With a high-refresh-rate display and the right settings, every move you make is clear and quick.
Settings Checklist Template
Use this template to lock in your complete competitive setup. It combines every lesson on sensitivity, vision, and performance.
First, calculate your target eDPI. Multiply your mouse DPI by your in-game sensitivity. Pick a consistent sensitivity curve for muscle memory.
Set your field of view. A higher FOV gives more peripheral data. A lower FOV makes distant targets appear larger. Choose based on your screen size and playstyle.
Apply a graphics preset for visibility. Guides for games like Battlefield often provide Low, Mid, and High-end PC profiles. Use these to remove visual clutter and maximize your FPS. A stable FPS is more valuable than extra details.
Configure your monitor. Enable its highest refresh rate. Turn on motion blur reduction features if available. This step completes your motion clarity foundation.
Commit to these settings for at least two weeks. Do not change them during this time. Your brain needs consistency to build reliable aim. After this period, any tweaks should be small and deliberate.
This template gives you a professional starting point. Your eDPI, FOV, and graphics now work together for clearer targets and smoother gameplay.