Let’s be honest. That moment before the drop ship door opens isn’t about courage. It’s about real estate.
You’re scanning pixels from 10,000 feet, conducting a brutal demographic analysis. Where are the wealthy loot districts? Which zones are gentrifying mid-tier? And where are the war-torn slums everyone fights over for scraps?
Take Verdansk’s recent return in Call of Duty: Warzone. The iconic map is back, but with layout tweaks that fundamentally change every drop. Choosing the right landing spot is one of the fastest ways to get ahead. It’s not nostalgia; it’s new cartography.
Or consider PUBG Mobile’s Sanhok. Its claustrophobic 4×4 km design turns your initial parachute decision into real-time strategic calculus. The action kicks off instantly. There’s no warm-up period.
This isn’t gambling. It’s applied geography. Mastering this pre-game analysis separates the cannon fodder from the contenders. Your success in those frantic opening minutes hinges on understanding these zones cold.
It’s a principle that transcends battle royales. Even in complex RPG systems like Path of Exile’s map drop mechanics, the same analytical framework applies. You’re always surveying the terrain for advantage.
So forget guts. Think like a surveyor. Your first and most critical investment is always early game loot intelligence.
Risk/Reward in Hot Zones
Landing in Warzone is not just about where you land. It’s about managing your risk and reward. You’re risking your life for a chance at loot, position, and glory. The hot zones are like high-risk stocks. Knowing their risks can mean the difference between an early exit or dominating the game.
Let’s look at the market. Every lobby has its own mood, but some spots are always ready for chaos.
- The Blue-Chip Chaos: Bootcamp (Sanhok) and Superstore (Verdansk) are like the NASDAQ on a wild day. Everyone’s shooting, and the loot is huge. But, the risk of going bankrupt in 30 seconds is real. You land here to be the top dog through combat. The reward is top-notch gear and taking out your toughest foes early. But, you’re also those foes.
- The Growth Stocks: Paradise Resort or Prison offer a more controlled risk. You’ll find good loot, but the fights are more predictable. A well-coordinated team can take these areas with smart tactics. As our guide on the best Warzone drops shows, Prison is a smart pick for gearing up without sudden attacks.
- The Municipal Bonds: Camp Alpha and Docks are low-risk, low-reward. You won’t find legendary loot, but you’ll have a stable path to the mid-game. These spots are for players who focus on survival and positioning over early fights. The risk of an immediate fight is low.
Hospital is the wild card of Verdansk. The corridors are tight, and the third-partying is constant. Landing here is like shorting a volatile stock—it could pay off big, but you could also lose everything.
So, how do you play this market? It’s all about game theory. You need to read the lobby’s likely distribution. If the plane path is over Superstore, expect chaos. Are you feeling lucky? Well, are you?
The smart player doesn’t just pick a zone; they pick a strategy. They ask: Do I want to dominate, build wealth safely, or just survive the crash? Your answer decides your investment. Choose wisely, because in this market, there are no bailouts.
Rapid Looting Techniques
The art of rapid looting is not about what you grab. It’s about not wasting precious seconds. It’s a fast, intense game where players with guns are the security.
Your main tool is time. Being two seconds early can mean the difference between winning and losing. Those seconds let you find a weapon and get a headshot before others.
Seasoned players say rooftops are key. Target rooftops or areas with good loot to get ahead of others. Rooftops give you a quick start, saving you from climbing.
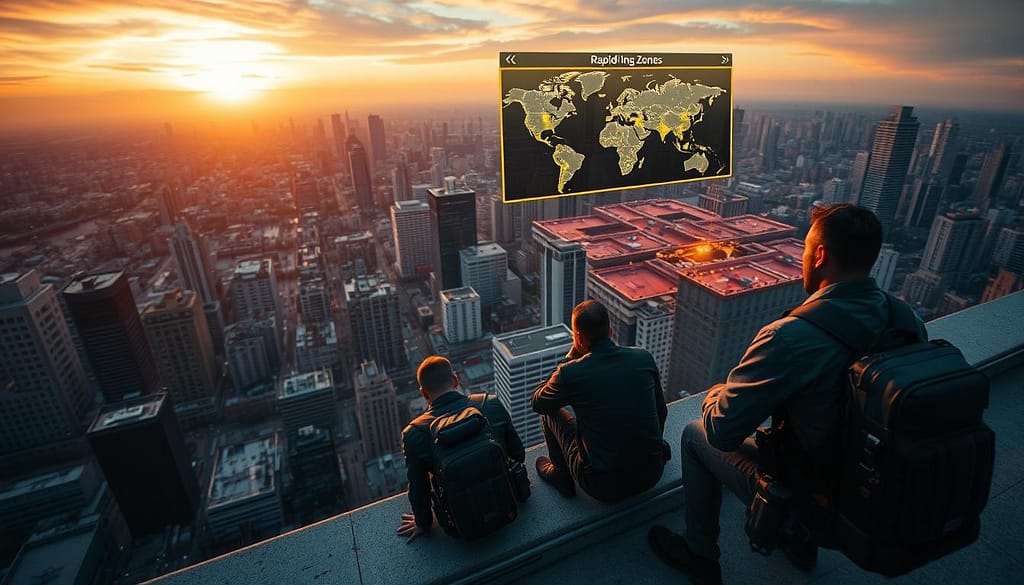
Not all drop locations are the same. Your strategy changes with the layout. Here’s how to tackle different types:
| Drop Location Type | Core Strategy | Temporal Risk | Player Density |
|---|---|---|---|
| Multi-Story Complex | Rooftop or bust. Secure top floor, work down. Control vertical chokepoints. | High if you miss the roof. | Very High |
| Spread-Out Town | Hit outskirts first. “Your best move is to hit the buildings on the outskirts first. Grab some solid gear…” then push inward toward noise. | Medium | Medium |
| Single Landmark (Quarry) | The patient capital strategy. Loot the periphery, then pick off the distracted players fighting over the central prize. | Low | High (Centralized) |
| Compact Hot Zone | Ultra-aggressive. “Landing straight into the lower levels can be a gamble…” requiring instant combat reflexes. Gear is often scattered on ground floors for fast breaches. | Very High | Extreme |
The Quarry strategy teaches patience. Let others risk it, then take their loot. A compact hot zone, on the other hand, is all about quick, violent action.
For teams, working together is key. Plan with your team: decide on buildings before jumping and meet up fast after. This teamwork is not communism—it’s smart strategy. Learning these loot drop best practices together makes your team strong.
The aim is to become a predator quickly. It’s about survival, fast. It’s the quick reflexes that keep you alive.
Surviving Early Fights
Your first firefight is like a messy political primary. It’s personal and often decided by who has the best early game loot. This isn’t the polished warfare of the final circles. It’s a bare-knuckle brawl where survival is the only platform.
The landscape is a volatile mix of personalities. Players who rush to the Train Station roof aim for control from above. Your job is to find their weak spots. The vertical design and boarded-up doors in its middle floors are perfect for an ambush.
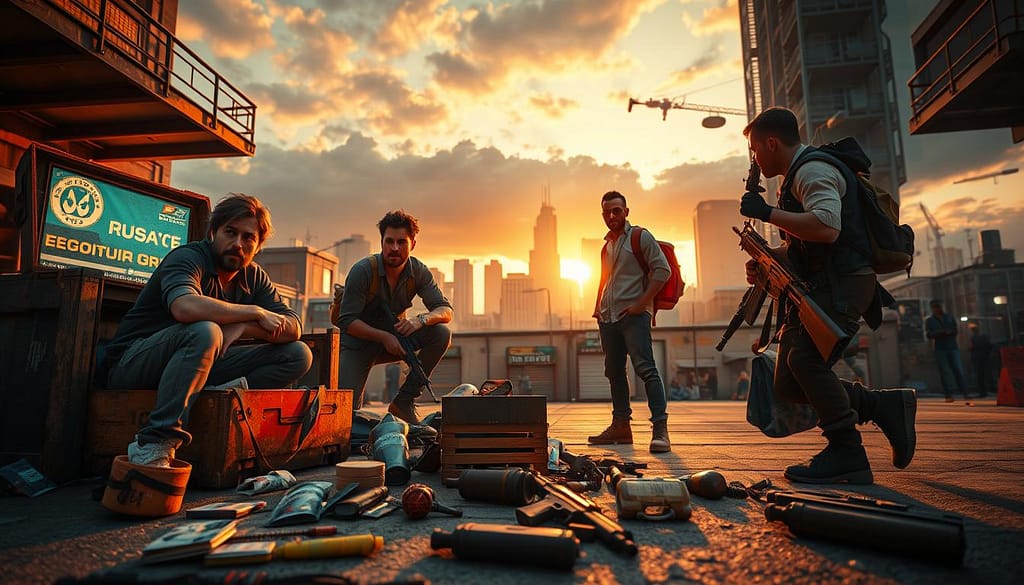
On the other hand, the rats in Hospital corridors or Ruins represent chaos. They thrive on close-quarter ambushes, turning the map’s architecture into a weapon. Paradise Resort is their natural habitat. Engaging them without the right early game loot is like bringing a thoughtful policy paper to a food fight.
So, how do you navigate this chaos? It starts with a cold assessment of your initial gear.
The Early Engagement Calculus
Not every fight is worth your resources. Use this framework to decide when to spend your early game loot and when to save it.
| Location Vibe | Player Psychology | Your Optimal Strategy |
|---|---|---|
| Bootcamp / Superstore (High-Density) | Aggressive expansionists. They want rapid consolidation of power through early kills. | Commit fully or flee immediately. Half-measures get you caught in crossfire. As noted, you need lightning-fast looting and tight aim just to survive the first 30 seconds here. |
| Quarry / Open Fields | Exposed idealists. They believe in the virtue of sightlines, often overlooking cover. | Reposition constantly. Use their overconfidence against them. Always stay near cover and be ready to reposition fast to flank their predictable sightlines. |
| Hospital / Ruins (CQC Labyrinths) | Chaos agents. They seek to dismantle structured play through ambushes and confusion. | Control the pace. Listen intently, hold unexpected angles, and let them make the first, often reckless, move. These areas reward sharp movement and quick decision-making over pure firepower. |
The most powerful tool in your early arsenal isn’t your gun—it’s the decision to disengage. A fight at Train Station that’s draining your plates and ammo for minimal gain is a sunk-cost fallacy in real time. Sometimes, the savvy move is to retreat, let two other factions weaken each other, and then sweep in as the fresh, third-party candidate with a fully-formed policy (a kitted weapon).
From Scavenger to Strategist
The transition happens in minutes. You stop being a mere collector of early game loot and start being its steward. That SMG isn’t just a tool; it’s a statement about the kind of match you intend to run. Will you use it to launch a bold, high-risk power play? Or will you holster it, using positioning and patience as your primary weapons until a better opportunity arises?
Remember, the goal of the early fight isn’t to win the match. It’s to survive with enough resources and momentum to be a credible contender for the final nomination. Manage your initial capital wisely, read the room (or the map), and know that sometimes the most presidential thing you can do is live to fight another day.
Mobility Tips
Mobility is more than just moving. It’s your main tool. The parachute drop is your first test. Aim for 230 km/h from 800-900 meters up. You land first, ready to fight, while others are slow to react.
Once you’re on the ground, your role changes. You’re no longer just fighting. You’re planning your next move. At Quarry, you can move around easily. From Prison, you can rotate to safety or set up an ambush. Hospital lets you quickly move into nearby battles. These places are more than just spots on the map. They’re key locations for movement.
Think about how you’ll leave before you enter. A hot zone only stays hot if you’re alive. When the fight is over and the loot is gone, you need to escape. The Docks teach you how to do this. Grab a boat and slip away quietly. This way, you can surprise your opponents in the next circle.
On Sanhok, the map is small, and action happens quickly. Watch the first zone closely. Plan your moves early. Don’t let the circle trap you. Instead, use it to your advantage.
Good hardware is important. SCUF’s back paddles are essential for quick movements. They let you move without losing your aim. In tight spots, this can be the difference between winning and losing.
This idea applies beyond battle royales. Mastering movement shapes your playstyle in many games. Check out this article on favorite mobility tools in gaming. The key is to stay ahead of the game. Think one circle ahead. Be the player who sets the pace.